Tags
animal rennet, cheese, cheese making, food, raw milk, salt, sea salt, urban cheese
Last year I entered the Amateur Cheese Awards for the second time. On the day I posted the cheese, it was still firm and chalky with a light rind, but tastings done later that week had variable results. I nervously awaited the results and was delighted to have been placed second. This was the judge’s feedback:
Fairly much goat, breakdown confined to edges, initial flavour creamy and mildly goaty and nutty but bitterness develops quite strongly. Probably lacking salt.
This got me thinking about the salt I was using in cheese – not only the amount, but also the type.
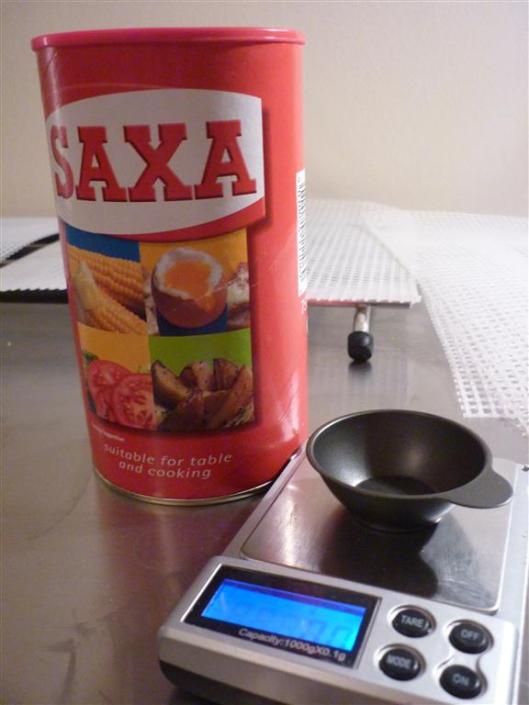
Saxa Table Salt
 When I first started cheese making, I used the readily-available Saxa table salt.
It seemed to work well, giving the cheese a lightly salty flavour and encouraging the growth of mould. However, a lot of my cheeses turned out quite dry – but as I was still learning about cheese I assumed this was something to do with humidity.
After experimenting with humidity with little effect (using a pond fogger), I started to wonder if the dryness might actually be caused by the various anti-caking agents present in the brand of table salt I was using.
Although fine (and tasty!) when sprinkled onto fish and chips, when used in my home-made cheese I began to wonder if this salt with its anti-caking agents might end up drawing too much moisture out of the curd, causing that excessive dryness.
Maldon Sea Salt
 I did a bit of research (I’d recommend Practical Cheesemaking by Kathy Biss and http://cheeseforum.org/articles/) to find that many people were recommending the use of “kosher” salt – which I found out was salt without additives such as anti-caking agents.
With my new salt-based knowledge in hand, I switched to using supermarket-bought pure sea salt flakes from Maldon, which I crushed up by hand to maximise the surface area, allowing it to absorb into the curd as easily as possible.
For a while this seemed to work well – the texture of my cheeses started becoming less dry, and the flavour was certainly enhanced.
However, after one fateful over-salting incident (which resulted in almost poisoning a Borough Market cheese monger who kindly offered to give their opinion on my cheese), I resolved to cut back drastically on the quantity of salt I was using.
The Experiment
Months of variable results followed, culminating in the cheeses that I submitted to the Amateur Cheese Awards. Their feedback got me thinking about salt again and I decided to design an experiment to test not only the various quantities of salt in cheese, but also the type.
The premise of the experiment is to use 3 different types of salt, at 4 different quantity levels, on the same basic cheese.
I decided to try making a raw white cow milk cheese, using geotrichum candidum (available from Moorlands), as part of my endless quest to replicate the deliciousness of the St Marcellin I encountered during a trip to Lyon.
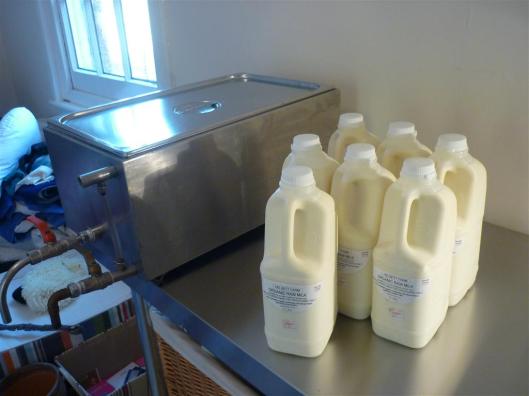
I managed to get hold of 28 pints of raw Ayrshire milk – one of my favourite cow milks to work with due to it’s good yield and minimal fat loss, but quite difficult to get hold of!
The main issue is that while I can get goat milk delivered on Friday, having been inside a goat earlier that day, the Ayrshire is delivered on a Wednesday, from milking the previous evening.
Unfortunately I don’t have the luxury of having my own herd of anything (apart from cats, and they’re both boys!), so I have to go with the milk I can get freshest.
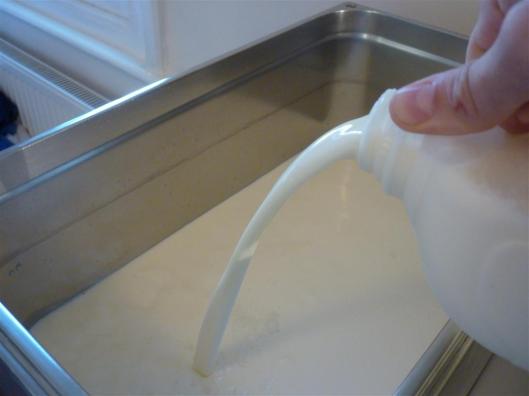
Since the milk has been sitting in the fridge for a couple of days, I always make sure to give it a gentle shake before decanting to ensure any fat which has settled doesn’t get left behind.
Also, I usually give the containers a quick wipe down before pouring, as they sometimes have condensation on the outside which could contaminate the milk it it happens to dribble in.
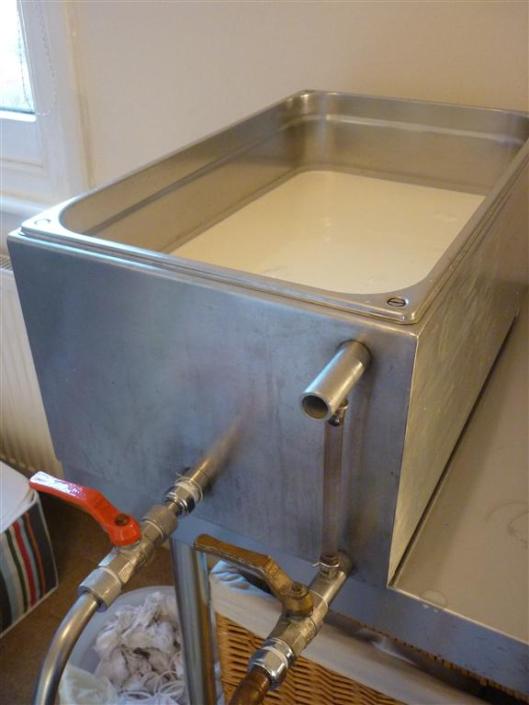
Once decanted, I warmed up the milk using my amazing little vat to 30C, and added some DVI MA101 starter with the geotrichum.
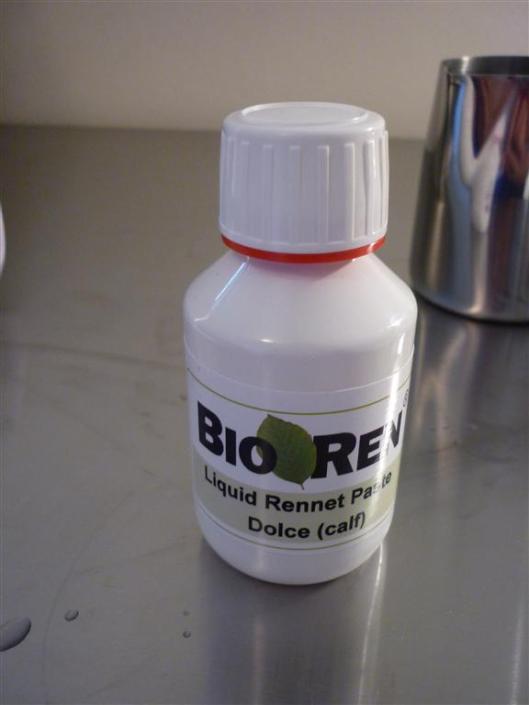
The very generous Jaap de Jonge (of the Cheese Making Shop) recently sent me some very interesting natural rennet samples, which I’ve been trying out in my most recent batches.
Rather than just a generic “animal rennet” available in most cheese making shops, BioRen rennet is from a specific animal, in this case, a calf.
Rennet is one of those ingredients in cheese making that is still a bit of a mystery to me – I know on a chemical level how it works, but what it actually imparts to the cheese in terms of flavour is something that I want to investigate further.
I also have samples of kid and lamb rennet, but seeing as I’m using cow milk, it would seem to make sense to use rennet from the same breed of animal to coagulate milk though, don’t you think?
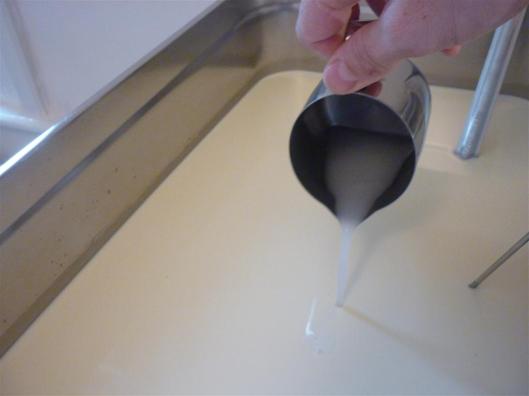
After around 30 minutes, add 3.2ml of rennet, diluted in 30ml of cold, clean water, and stir for around 40 seconds.
I was aiming for coagulation time of around 90 minutes, and given previous experience with other BioRen rennets, 3.2ml should have been enough.
As it turned out, it took nearly 3 hours to give a clean break, so next time I think around 5ml of rennet might be more appropriate.
The reason for not doubling the quantity of rennet in order to halve the coagulation time (as you might expect) is that I think the ambient temperature may have caused the set to slow too.
It was a very cold day (16.4C), and after turning off the vat heater, the temperature of the milk dropped from 29.9C to 27.2C over the course of 3 hours.
Lesson for next time – use slightly more rennet, and keep the room a bit warmer!
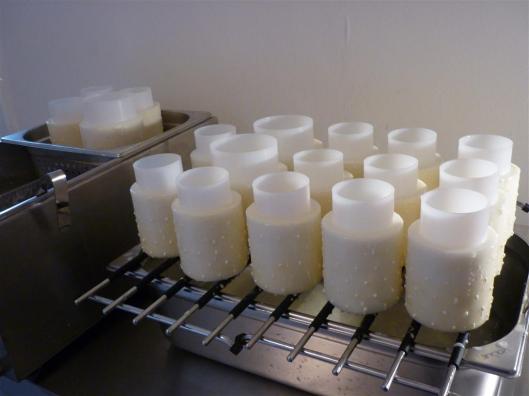
After achieving a clean break, I ladelled the curd into moulds and left to drain with just the follower on top at 17.3C at 74% humidity for 24 hours without flipping.
During this period, the temperature dropped to around 14.8C (it was a very cold weekend!), but humidity stayed around 74%.
The pH of the curd also dropped from a slightly acidic 6.5, to a sharp 5.1 – note that the purpose of salt in cheese making is not only to add flavour, but also to slow the acidity to a more gentle pace after this initial rapid move.
Although the curd was still quite moist at this stage, I decided to proceed with salting, mainly because otherwise I’d have to wait another 24 hours before salting, since I didn’t fancy getting up an hour early for work in order to salt my cheese!
So – on to the actual experiment! First up, the bog-standard test – Saxa, rich in anti-caking agent, poor in flavour!
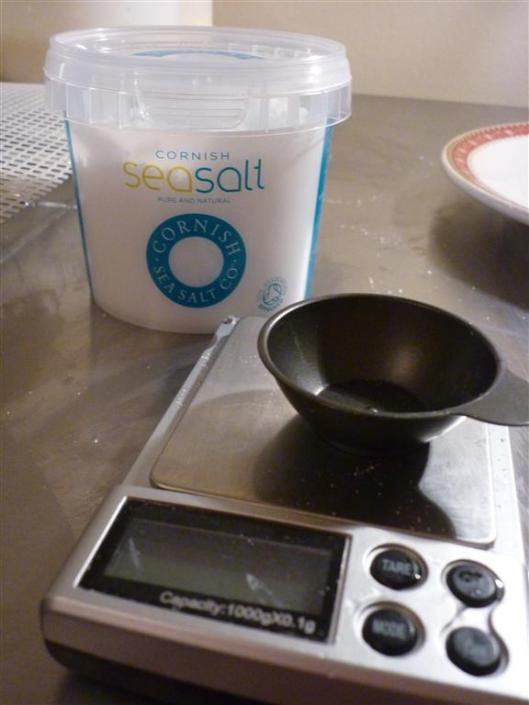
I used 4 different levels of salt throughout the experiment: 3.7g, 4.0g, 4.4g and 4.9g.
The cheeses themselves were 148g each, meaning the salt concentration varied between 2.5% (3.7g) and 3.3% (4.9g), which given previous experience with making this type of cheese, should be the upper range of acceptable salt levels (hopefully!).
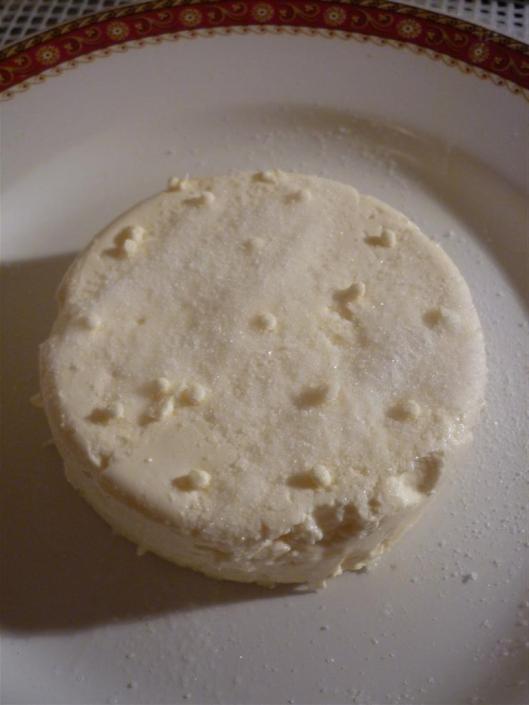
Next up – Cornish sea salt! This is my general salt of choice when making cheese, owing to it’s lovely flavour, and the fact it comes from Cornwall.
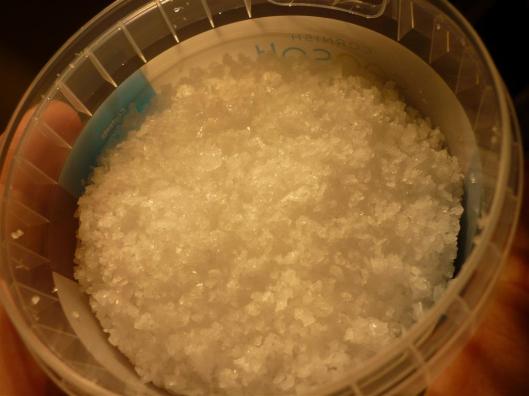
The flakes are pretty large – on their own, sprinkled onto cheese you’d probably end up with inconsistently salted cheese.
To avoid this, I ground up the larger flakes by hand using a pestle and mortar.
Again – the same 4 quantities of salt were used.
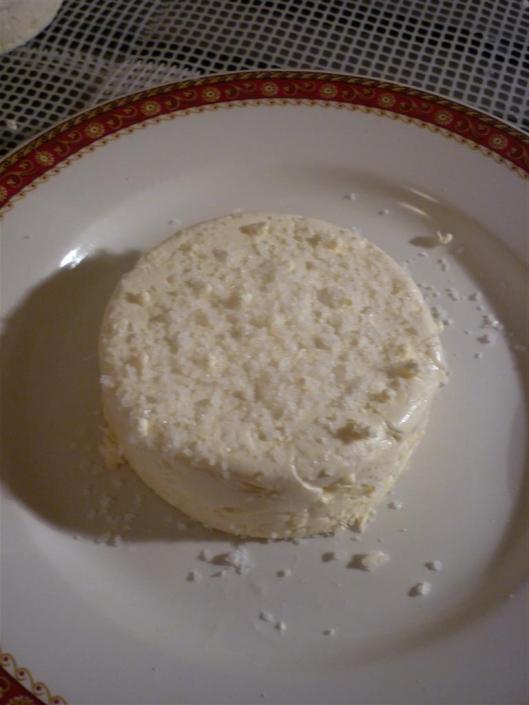
I made sure to clean off the plate between each salting, and tried to ensure as much salt actually stayed on the cheese as possible.
The size of the sea salt flakes (even after excessive grinding) meant that there were a fair few leftover grains after each salting – something that didn’t happen with the extremely finely ground Saxa salt.
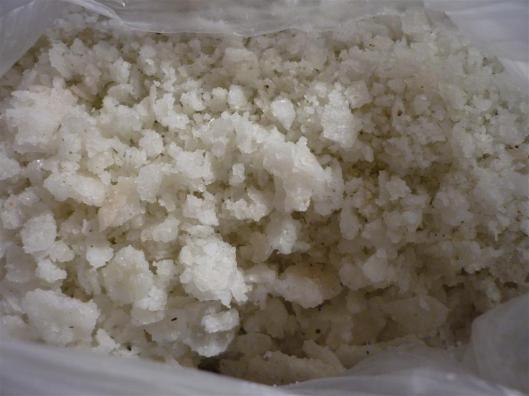
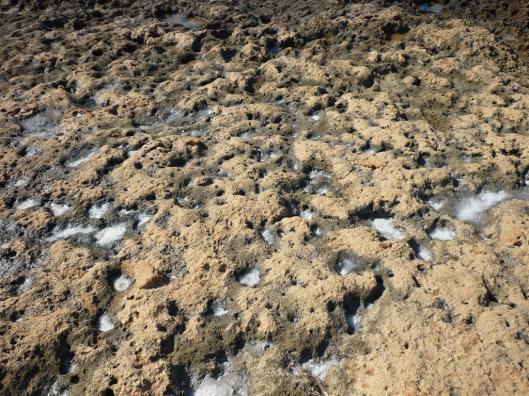
Finally – actual sea salt! I say “actual” because @heatherrhian and I harvested it ourselves on holiday, from an amazing place in Crete called Selles!
Thanks to our fantastic guide and friend Julia Jones, we were able to literally pick handfuls of the stuff out of the sea!
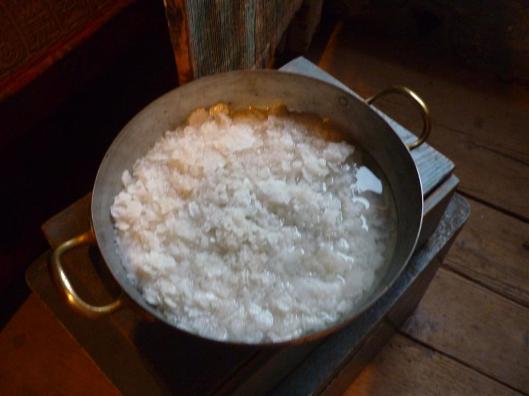
After drying the excess salt water off the sea salt flakes in the sun, we packed it up and brought it all the way back to London.
I was slightly concerned about bringing a bag full of big white crystals through airport security, but luckily no-one noticed!
The crystals are HUGE, some a couple of centimeters across, and taste bonkers!
I can only compare it with putting your head into the sea, and just opening your mouth – the intensity of flavours is so deep and satisfying.
Despite the strength and depth of flavour, the same 4 quantities were used.
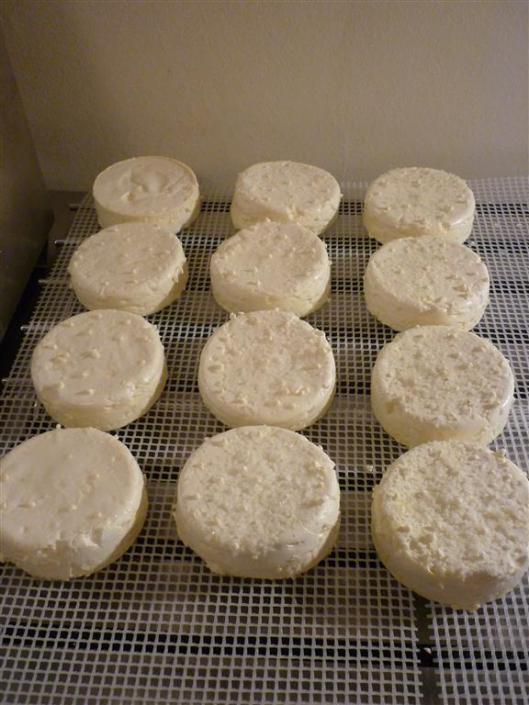
Despite our best efforts when harvesting the salt, we did end up with a few grains of sand here or there which you might be able to notice in the picture above – hopefully these won’t impact the cheese too much.
The picture above shows from left to right, Saxa, Cornish & Selles, with increasing levels of salt from top to bottom.
The cheeses were left to dry off for 3 days, at temperature ranging from 14.1C to 19.1C, and humidity from 72% to 75%.
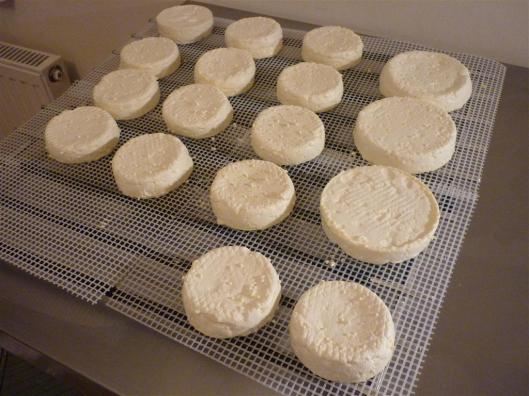
Note that I had some curd left over, from which I made 3 larger cheeses (right hand side of the picture), and two smaller cheeses (bottom), all of them with Cornish sea salt at a medium level to act as control cheeses.
This way I hope that I’ll be able to check whether the experimentally salted cheeses are “done” without actually having to open any of them.
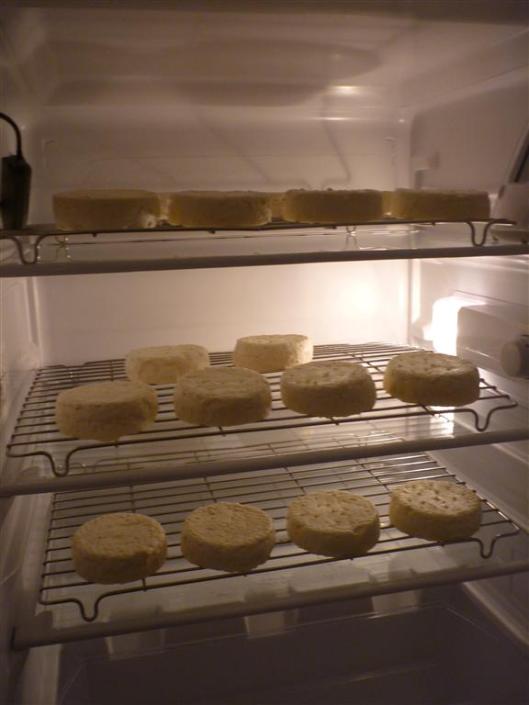
On the 24th January, the cheeses were all placed into the cheese cave, running at 12C @ 85% humidity.
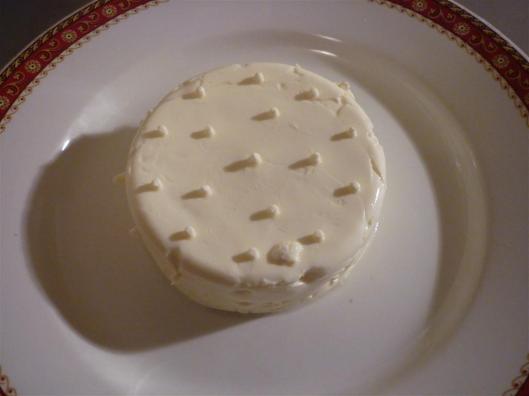
Once again, from top to bottom: Saxa, Cornish, Selles; then left to right increasing quantity of salt.
Temperature and humidity throughout the fridge seems quite consistent, so they’ll just be flipped (not moved) each day for 10-12 days.
What think will happen is the following:
- The Saxa salted cheese will turn out dry, due to the anti-caking agents dehydrating the curd
- The Saxa salted cheese will have significantly less mould than the others, owing to the lower concentration of actual salt due to the additives
- The Selles salted cheese will be overly salty, and taste of the sea, due to the strength of flavour of the salt
- The Cornish salted cheese will turn out perfectly, with the optimal level of salt being somewhere in the range chosen
Experiment results will follow in the next post, since this one is quite long already!


Pingback: Salt Experiments – The Results « the handyface blog
Nifty table and heating vat. Very nice! While I am waiting for a clean break in my batch today I’m reading about your experiments. Good work!
Thanks Rick! The table is surprisingly useful, makes cleaning so much easier! Do you make professionally?
Pingback: Milk Type Experiments – The Cheese « handyface